

If you’re a beauty blogger just starting out (or even if you’ve been at it for a while), you know how tricky it can be to get your makeup shots to look as good on camera as they do in real life. I’ve spent months figuring out what works and what doesn’t—trial and error, blurry photos, and way too many days where my foundation looked either washed out or cakey on screen. These are the tips that actually changed my content, no fancy equipment required (though a few small tools help!). They’re simple, practical, and totally doable for anyone who’s still learning the ropes.
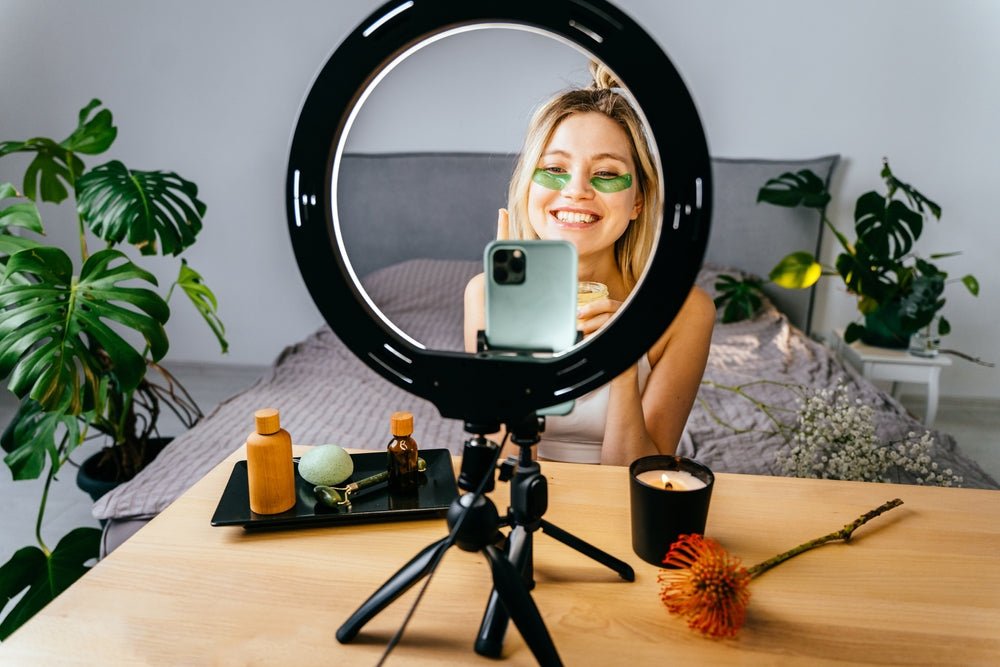
First things first: lighting is everything, but you don’t need an expensive ring light (unless you want one!). I used to shoot my makeup in my bedroom, which has a tiny window, and my photos always looked dull or had weird shadows under my eyes. Now, I set up my vanity right next to a north-facing window—natural light is your best friend here. It’s soft, even, and doesn’t cast harsh lines that make your makeup look uneven. If you don’t have a good window, a cheap LED ring light (the ones with warm and cool settings) works too—just make sure it’s positioned slightly above your face, not directly in front, so you don’t get that weird glare on your forehead or nose.
Next, focus on the details—but don’t overcomplicate it. One of my biggest mistakes early on was trying to show every single product in one shot, which made the photo look cluttered and messy. Instead, zoom in on what matters: if you’re reviewing a lipstick, take a close-up of your lips (make sure your lips are exfoliated and moisturized first—dry lips look terrible on camera!). If you’re doing an eyeshadow tutorial, focus on the eye area—use a small table lamp to add a little extra light on your eyelid so the colors pop. You don’t need to include your entire face in every shot; sometimes a close-up of the makeup itself is more eye-catching.
Camera settings matter, but you don’t need to be a pro. I still use my phone camera most of the time—no fancy DSLR required! The key is to turn off the flash (flash makes makeup look flat and washes out color) and use the portrait mode sparingly. Portrait mode is great for full-face shots because it blurs the background, but if you’re taking a close-up of a product, use the regular photo mode and tap the screen to focus on the product (this prevents blurriness). Also, avoid zooming in with your fingers—if you need a closer shot, move your phone closer to your face or the product instead. Zooming in digitally makes the photo grainy, which is never a good look.
Backgrounds are simpler than you think—you don’t need a fancy backdrop. I used to stress about having a perfect, matching background, but now I just use a plain white sheet or a neutral-colored towel draped over my vanity. Cluttered backgrounds (like piles of makeup, dirty brushes, or random objects) distract from your makeup, which is the star of the show. If you want to add a little personality, you can place 1-2 of your favorite products next to your face (like a lipstick or a palette), but keep it minimal. Less is more when it comes to backgrounds.
Don’t forget about consistency. When I first started, my photos looked all over the place—one day they were bright and warm, the next they were cool and dull. Now, I stick to the same lighting (north-facing window or ring light on warm setting) and edit my photos with the same filters (I use VSCO—my go-to is A6, but I turn down the intensity so it doesn’t look over-edited). Consistency helps your audience recognize your content, and it makes your feed look more polished. You don’t need to edit every photo to perfection—small tweaks (brightening a little, softening shadows) are enough. Over-editing makes your makeup look fake, and people can tell.
Last but not least: practice, and don’t be too hard on yourself. I still take bad photos sometimes—maybe the light is off, or my makeup smudged, or the camera focus is wrong. That’s totally normal! The more you shoot, the more you’ll learn what works for you. Try different angles (I prefer shooting slightly from above— it flatters my face and shows off the makeup better), experiment with different lighting times (morning light is softer than afternoon light), and don’t be afraid to delete the photos that don’t turn out. Every beauty blogger has messy outtakes—you don’t have to post everything.
At the end of the day, your content is about sharing your love for makeup, not being perfect. These tips are just guidelines—feel free to tweak them to fit your style. Whether you’re shooting with a phone or a professional camera, the most important thing is that your makeup looks true to life and that your personality shines through. Happy shooting, and don’t forget to have fun with it!