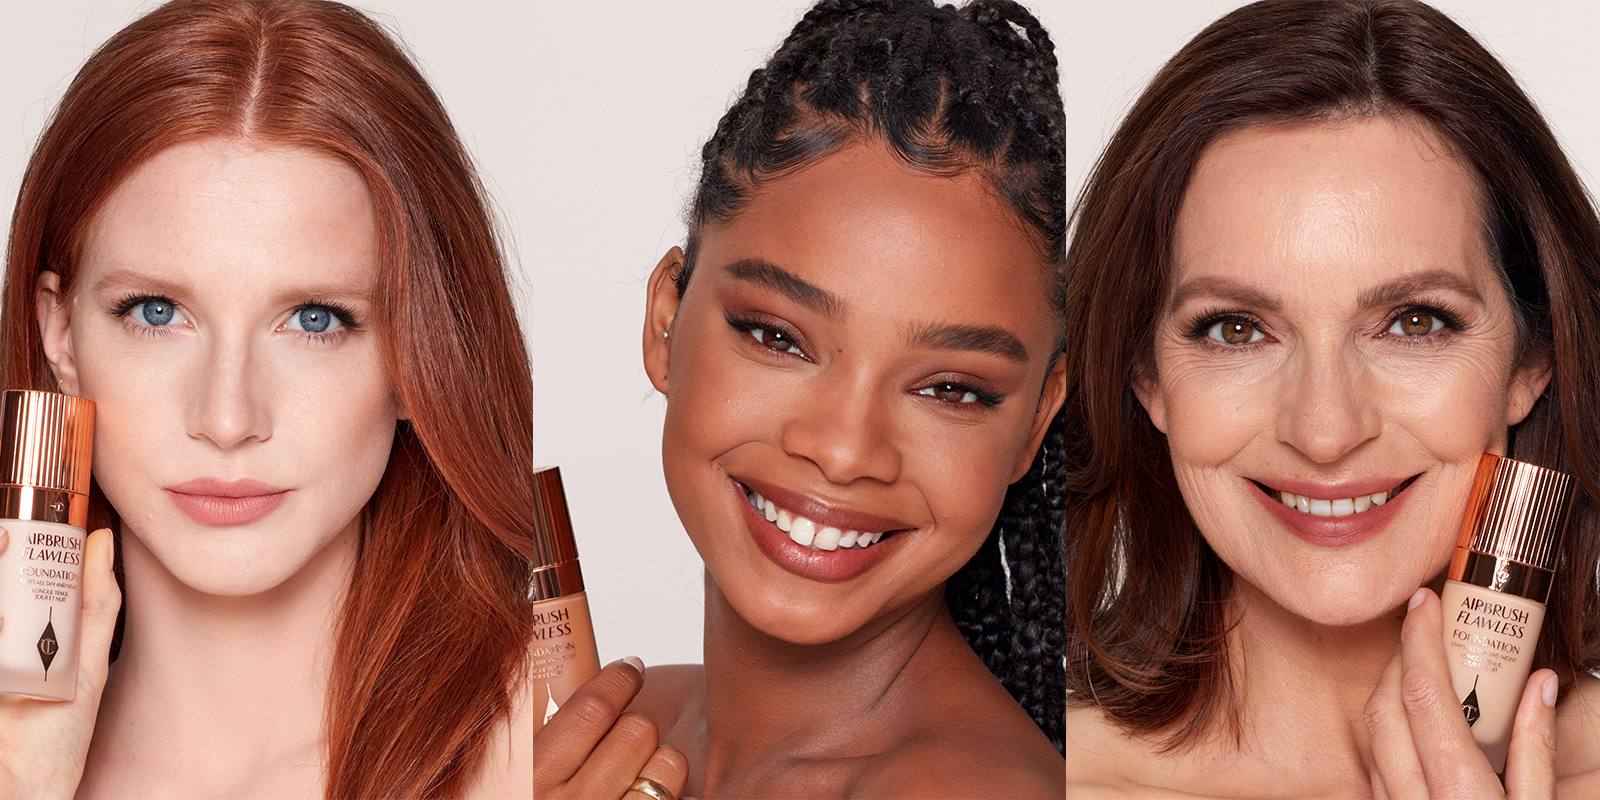
Selecting the perfect foundation shade is an art that can significantly enhance your overall makeup look. A well – matched foundation not only provides a seamless base but also gives your skin a natural, radiant glow. However, with the vast array of foundation shades available on the market, finding the right one can seem like a daunting task. This guide will walk you through the essential steps to help you choose the foundation shade that suits your skin tone perfectly.
Skin Tone Classification
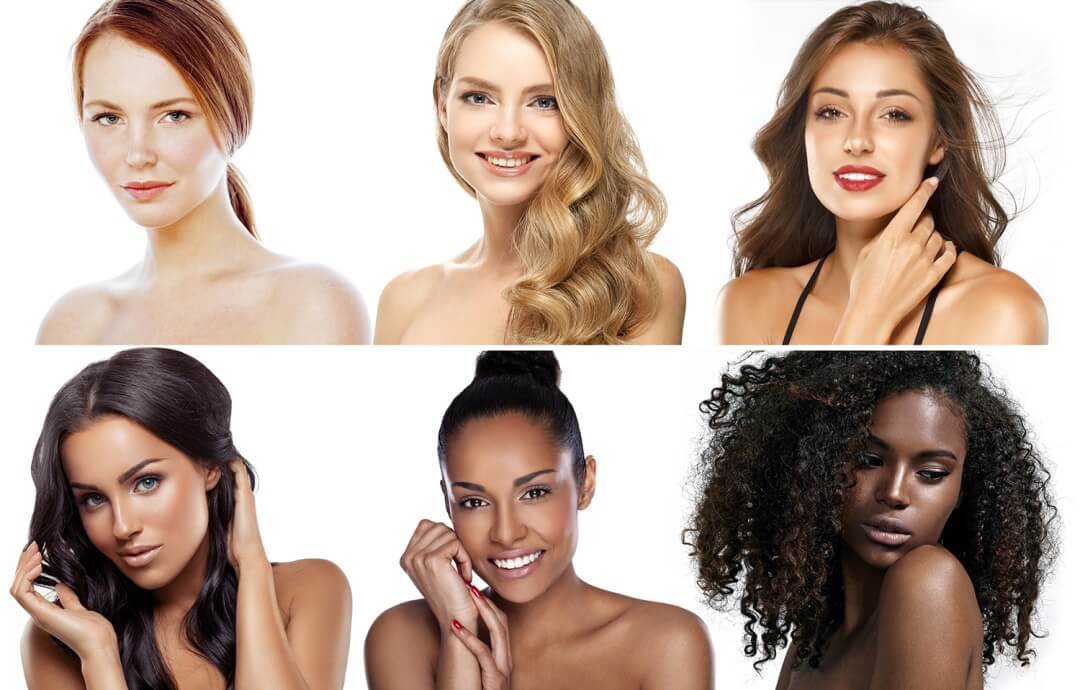
Cool – Toned Skin
Cool – toned skin has a bluish or pinkish undertone. If you look at the veins on your wrist, they may appear blue or purple. People with cool – toned skin often have a porcelain – like complexion that burns easily in the sun rather than tanning. When choosing a foundation for cool – toned skin, opt for shades with a pink, blue, or ash undertone. For example, if you have fair cool – toned skin, foundations labeled as “porcelain cool” or “ivory cool” are likely to be good matches. Medium – toned cool – skinned individuals can look for shades with names like “sand cool” or “beige cool.”
Warm – Toned Skin
Warm – toned skin has a yellow, peach, or golden undertone. The veins on the wrist of warm – toned people usually appear greenish. Those with warm – toned skin tend to tan more easily in the sun. Foundation shades for warm – toned skin should have yellow, peach, or golden undertones. For fair warm – toned skin, options like “honey warm” or “golden fair” can be ideal. Medium – warm skin tones can be complemented by shades such as “caramel warm” or “bronze warm.”
Neutral – Toned Skin
Neutral – toned skin has a balanced undertone that is a combination of both warm and cool elements. The veins on the wrist may appear a mix of blue and green. Foundation shades for neutral – toned skin are those that have a balanced blend of warm and cool undertones. Shades like “natural” or “beige neutral” are suitable for neutral – toned individuals across different skin depths, from fair to dark.
Testing Methods
Neck Testing
One of the most reliable ways to test foundation shades is to apply a small amount of the foundation on your neck. The skin on the neck is often a better indicator of your natural skin tone compared to the face, which may be affected by sun exposure or other factors. Swatch a few shades that you think might be suitable in a line on your neck, starting from the jawline downwards. The foundation shade that blends seamlessly with your neck skin, without creating a visible demarcation line, is likely to be the right match.
Natural Light Observation
After applying the foundation swatches on your neck, step outside or stand near a window to observe the shades in natural light. Natural light is the most accurate way to assess the true color of the foundation. Avoid using artificial lighting, as it can distort the appearance of the shades. In natural light, look for the foundation shade that appears to be an extension of your skin, neither too light nor too dark.
Makeup Tricks: Using Concealer to Brighten Skin Tone
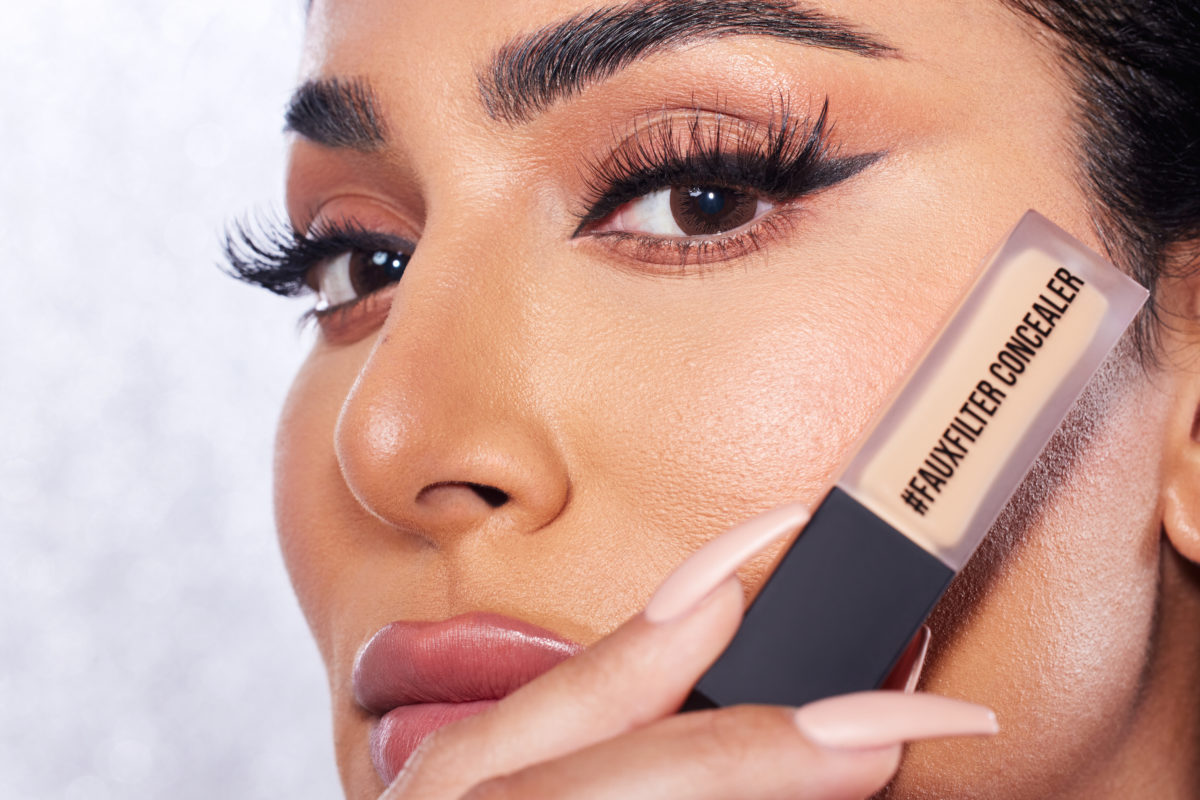
Concealer can be a powerful tool to enhance your foundation and brighten your skin tone. First, choose a concealer that is one or two shades lighter than your foundation. Apply the concealer in a triangular shape under your eyes, starting from the inner corner and extending towards the outer corner. This helps to brighten the under – eye area and reduce the appearance of dark circles. You can also apply a small amount of concealer on the high points of your face, such as the bridge of the nose, the cupid’s bow, and the center of the forehead. Blend the concealer well using a makeup brush, a beauty sponge, or your fingertips. This creates a subtle highlighting effect, making your skin look more radiant and lifted.
Recommended Tools
Beauty Blender

A beauty blender is a popular and effective tool for applying foundation. Its unique shape allows for easy blending, especially in hard – to – reach areas like the corners of the eyes and around the nose. Dampen the beauty blender before use to ensure a smooth and seamless application. Dip the beauty blender into the foundation and then gently bounce it onto your skin, starting from the center of the face and working your way outwards. The bouncing motion helps to blend the foundation evenly, giving a natural finish.
Sponge Puff

Sponge puffs are another great option for applying foundation. They come in different shapes and sizes, and some are even designed with a flat side for quick application and a rounded side for blending. Similar to the beauty blender, moisten the sponge puff before use. Use the flat side of the sponge puff to apply the foundation to larger areas of the face, such as the cheeks and forehead. Then, use the rounded side to blend the foundation for a more natural look. Sponge puffs are particularly useful for applying liquid and cream foundations, as they can absorb excess product and prevent a cakey finish.
In conclusion, choosing the right foundation shade involves understanding your skin tone, using proper testing methods, and leveraging makeup tricks and the right tools. By following these steps, you can achieve a flawless, natural – looking foundation application that enhances your beauty and boosts your confidence.